Renovating osamasidat.com, Part 2: Moving to GitHub Pages
This is the second part of a (hopefully) multi-part series of posts in which I outline my thought process as I renovate my personal website.
In Part 1, I updated my personal webpage to use the static site generator Wintersmith. Next - I will do something that I’ve been waiting to do for a long time - move the site from its Netfirms host, and serve it up via GitHub Pages.
Creating and pushing source code to the oosidat.github.io repository #
Following instructions on the GitHub Pages site for “User or organization site”, I created a new repository, “oosidat.github.io”:
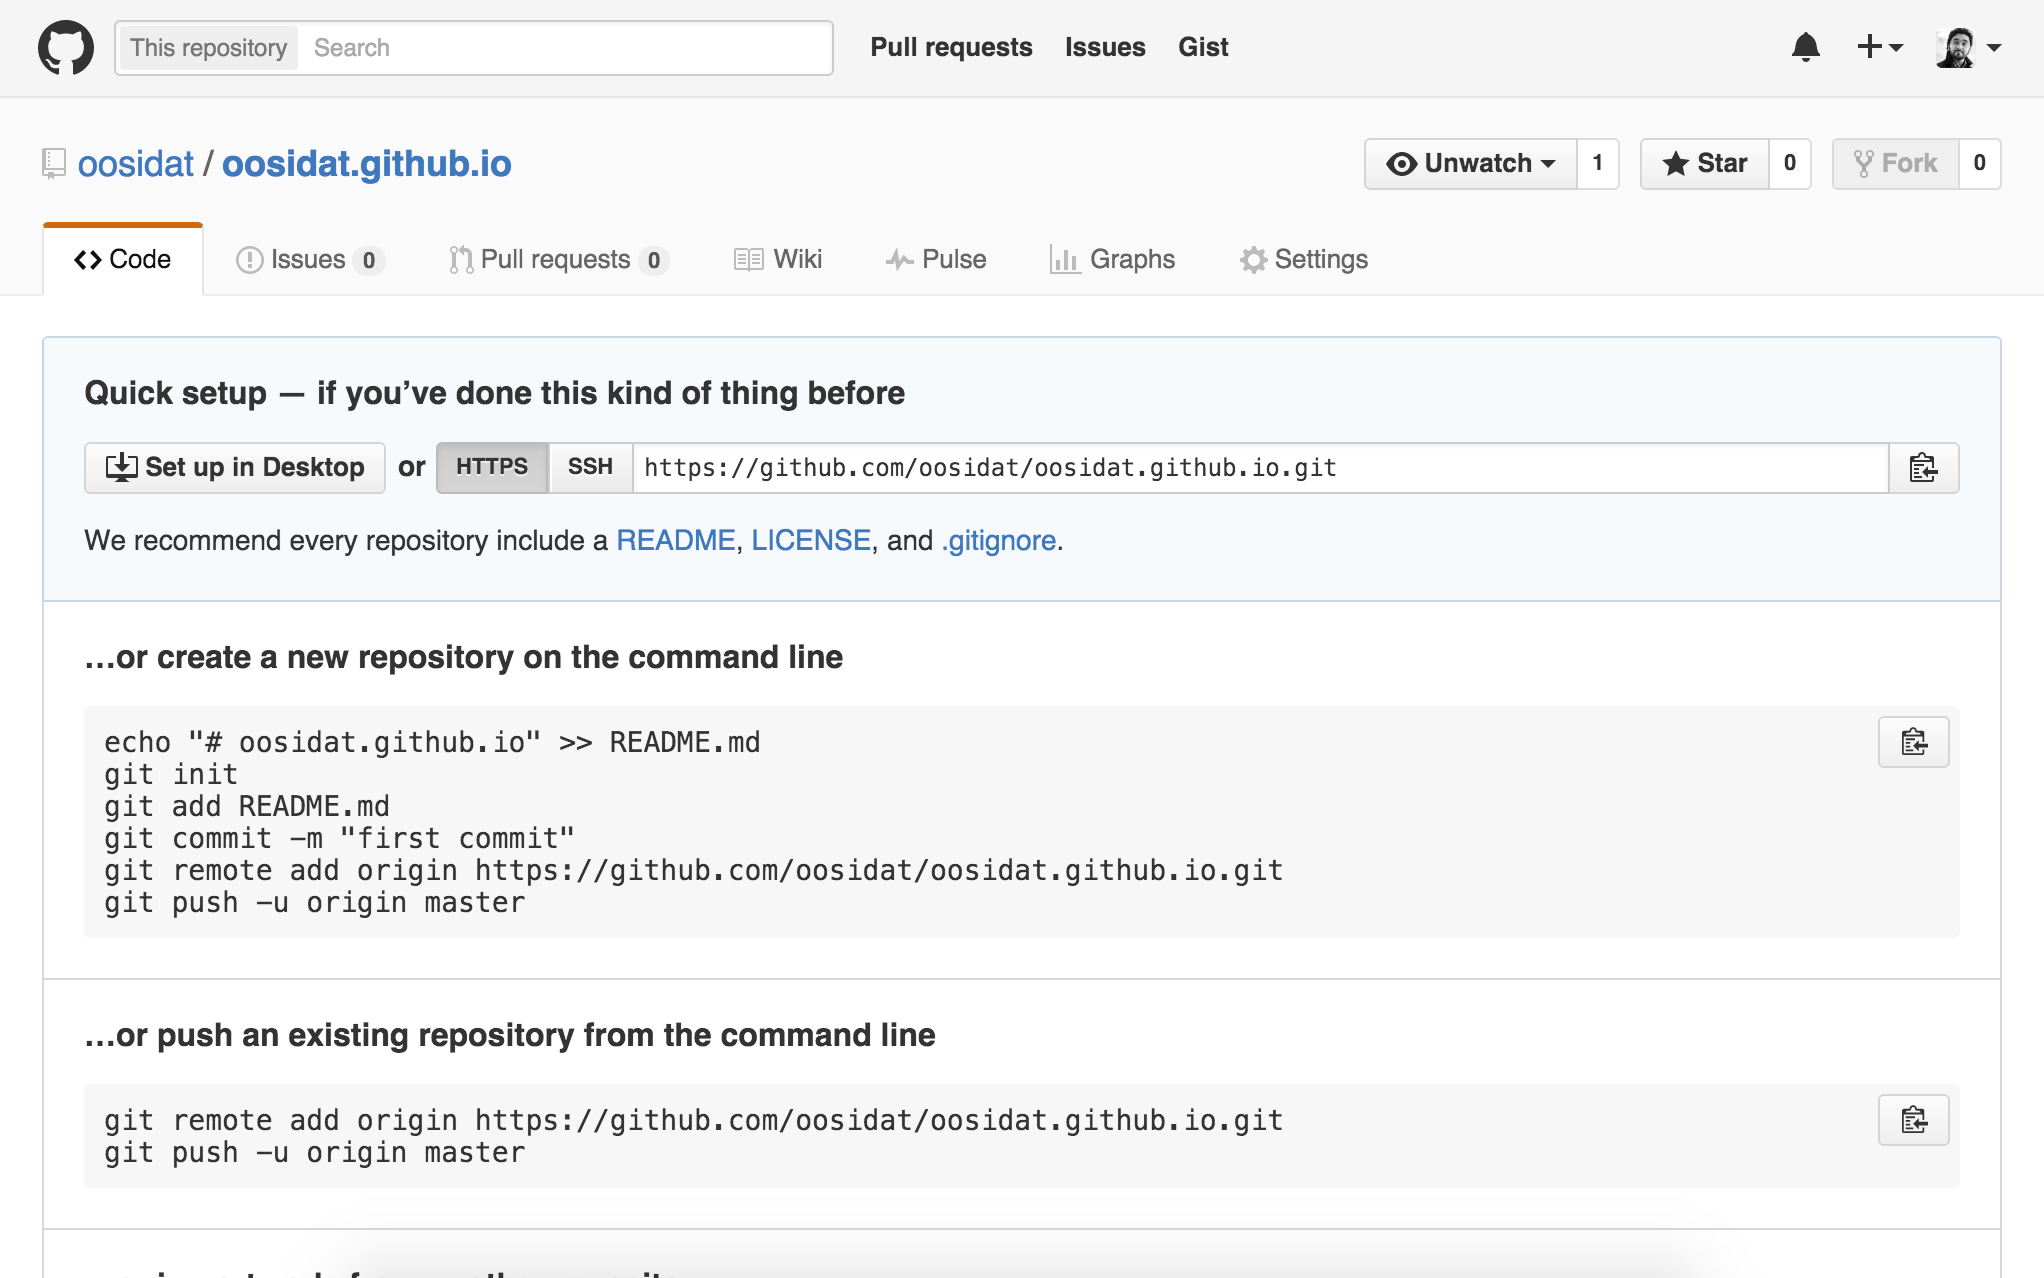
GitHub Pages will automatically serve up any content pushed to the master branch of this repository at oosidat.github.io
Next, from inside the personal-page directory on my local machine, I will change the remote repo’s URL.
Before:
personal-page $ git remote -v
origin  https://github.com/oosidat/personal-page.git (fetch)
origin  https://github.com/oosidat/personal-page.git (push)
Change the origin remote url:
personal-page $ git remote set-url origin https://github.com/oosidat/oosidat.github.io.git
After:
personal-page $ git remote -v
origin  https://github.com/oosidat/oosidat.github.io.git (fetch)
origin  https://github.com/oosidat/oosidat.github.io.git (push)
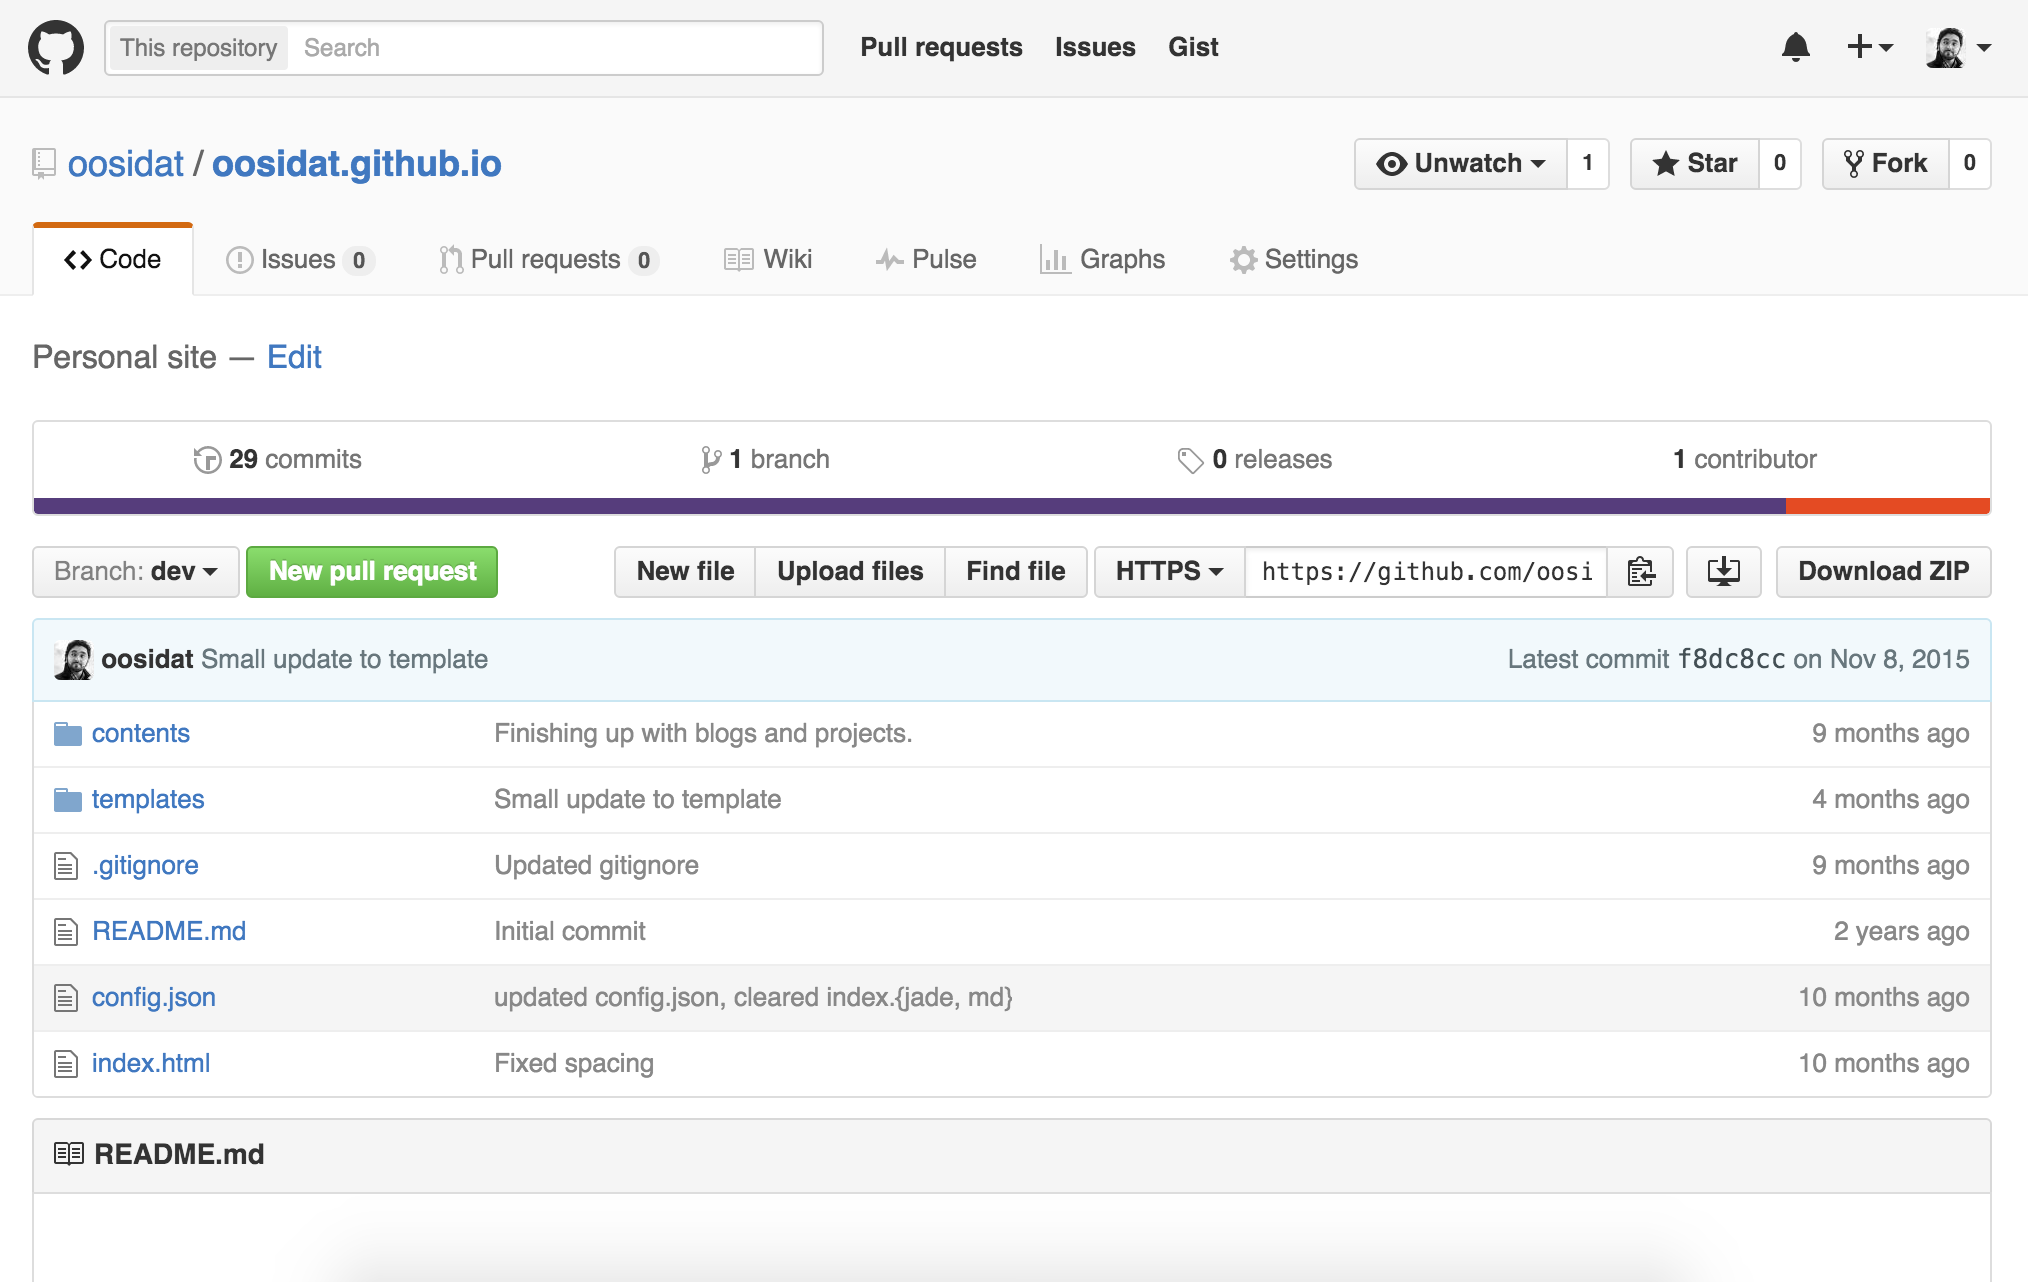
Currently, in our local git repo, the source code for the Wintersmith site is on the master branch – I need the generated site on that branch, and host the code on another branch. To do this, I’ll create and push a dev branch with the existing source code:
personal-page $ git branch dev
personal-page $ git checkout dev
personal-page $ git push origin dev
The result:
Generate the site and push to the master branch #
One way to go about this would be to run wintersmith build, copy the contents into a separate location, and push it to the master branch of the oosidat.github.io repository. However, this workflow can get clunky over time.
Enter Gulp and gulp-gh-pages. I can use this to publish the generated contents to master without having to partake in a manual process.
For the next steps, I will need npm installed.
Initialize package.json using npm #
personal-page $ npm init
Answering the questions will generate a package.json. A cleaned up and modified version of the file may look like:
{
  "name": "oosidat.github.io",
  "version": "1.0.0",
  "description": "Personal website",
  "scripts": {
    "build": "wintersmith build",
    "deploy": "gulp deploy",
    "clean": "rm -r build",
    "deployclean": "rm -r build; wintersmith build; gulp deploy"
  },
  "repository": {
    "type": "git",
    "url": "git+https://github.com/oosidat/oosidat.github.io.git"
  },
  "author": "Osama Sidat",
  "license": "MIT",
  "bugs": {
    "url": "https://github.com/oosidat/oosidat.github.io/issues"
  },
  "homepage": "https://github.com/oosidat/oosidat.github.io#readme"
}
The scripts will later be used to ease the build and deploy process.
Install gulp and gulp-gh-pages #
personal-page $ npm install --save-dev gulp gulp-gh-pages
This will add devDependencies to package.json
"devDependencies": {
  "gulp": "^3.9.1",
  "gulp-gh-pages": "^0.5.4"
}
Adding a gulp deploy task #
Next, I’ll add a gulpfile.js
personal-page $ touch gulpfile.js
with the following contents:
var gulp = require('gulp');
var deploy = require('gulp-gh-pages');

var options = {branch: 'master'};

gulp.task('deploy', function() {
  return gulp.src('./build/**/*')
    .pipe(deploy(options))
});
The deploy task takes the contents of the build folder and uses the gulp-gh-pages plugin to push the contents to the master - it automatically attaches a time-stamped commit message.
Testing #
Run deployclean:
personal-page $ npm run deployclean

> [email protected] deployclean /Users/osamasidat/Development/personal-page
> rm -r build; wintersmith build; gulp deploy

  building site
  using config file: /Users/osamasidat/Development/personal-page/config.json
  rendering tree:
    ...
  done in 711 ms

[15:38:36] Using gulpfile ~/Development/personal-page/gulpfile.js
[15:38:36] Starting 'deploy'...
[15:38:41] [gh-pages (master)] Cloning repo
[15:38:41] [gh-pages (master)] Create branch `master` and checkout
[15:38:41] [gh-pages (master)] Copying files to repository
[15:38:42] [gh-pages (master)] Adding 43 files.
[15:38:42] [gh-pages (master)] Committing "Update 2016-03-05T20:38:36.012Z"
[15:38:42] [gh-pages (master)] Pushing to remote.
[15:38:43] Finished 'deploy' after 7.99 s
After deploying, this is what the master branch looks like:
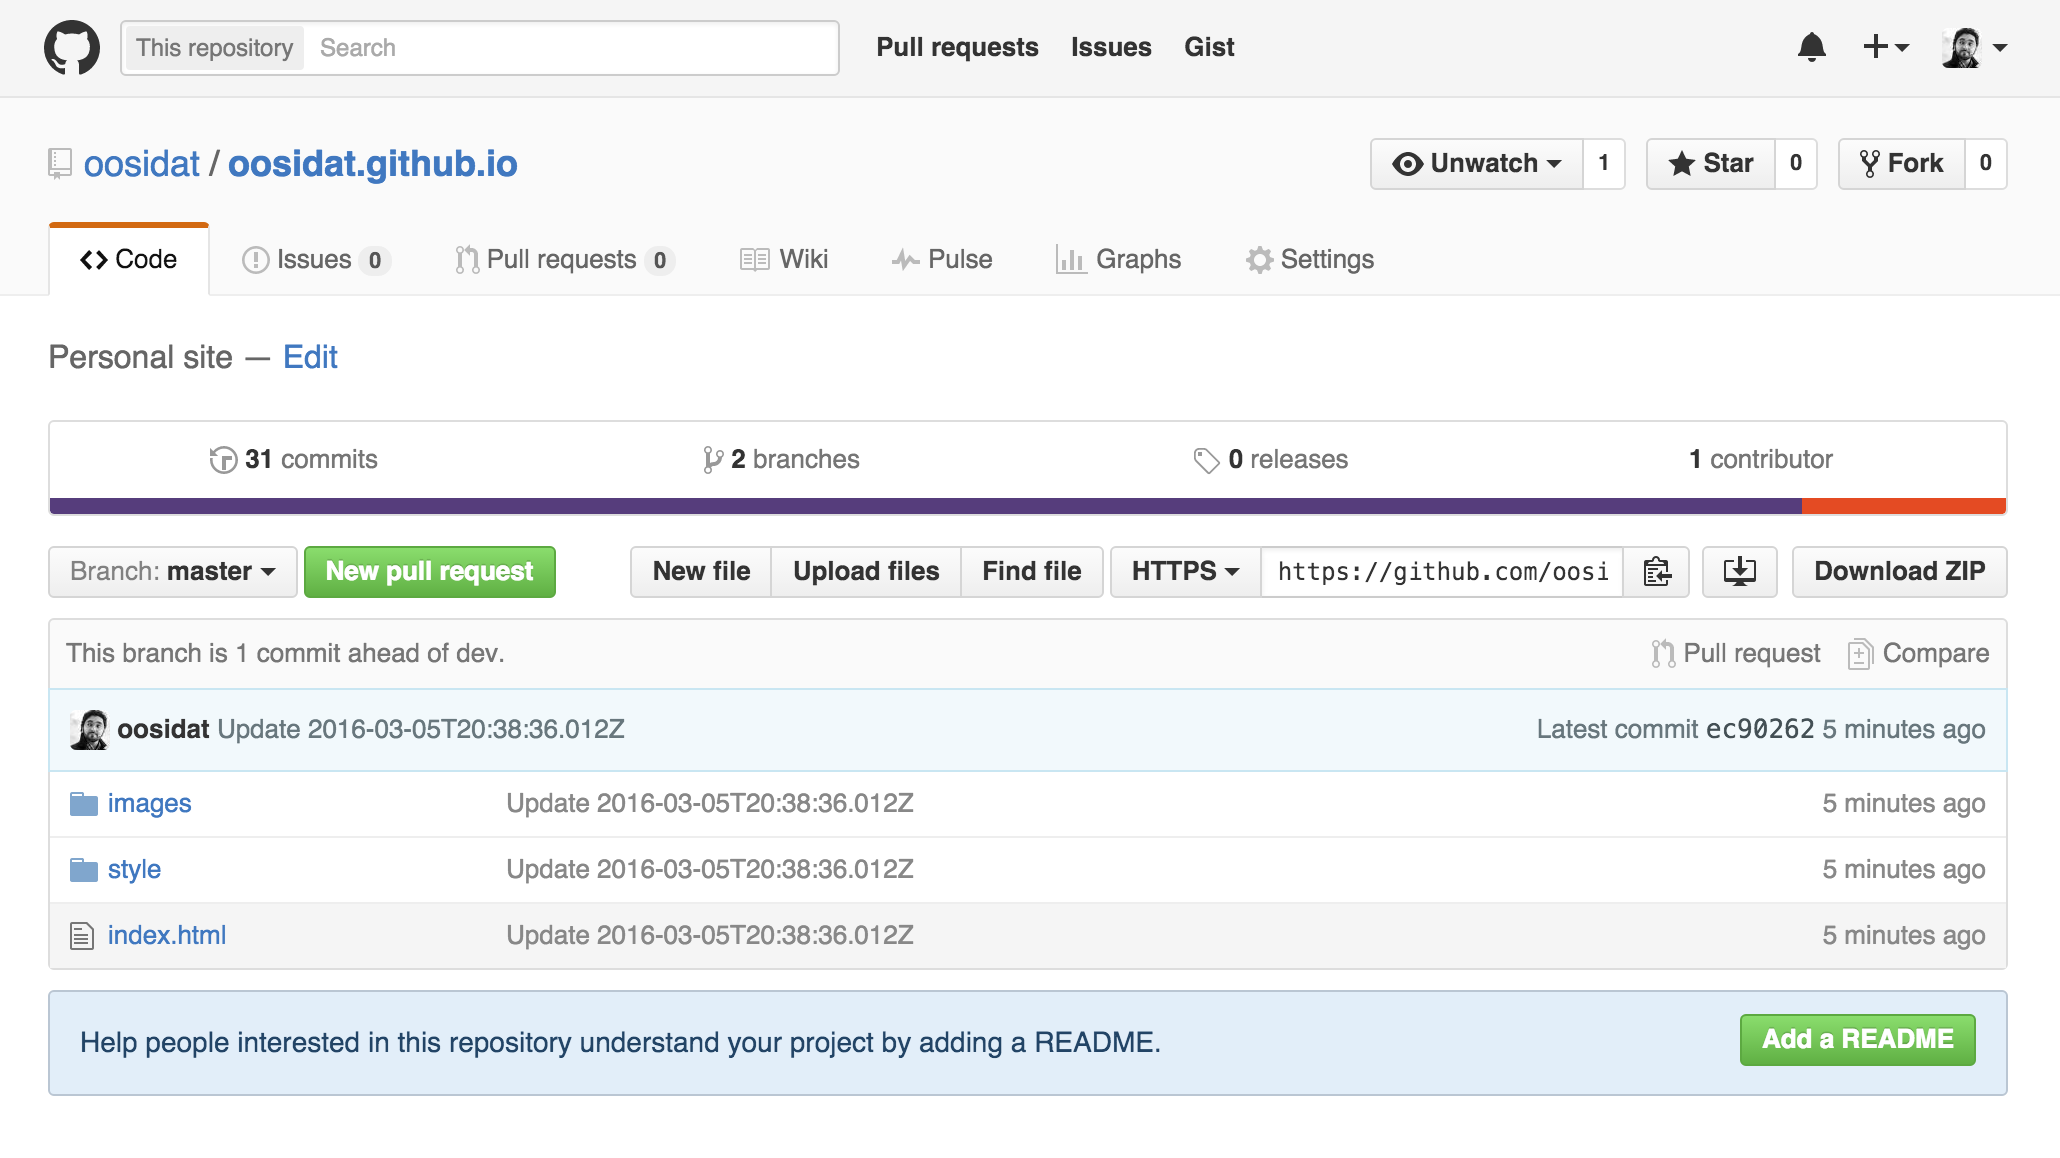
Visiting http://oosidat.github.io yields the deployed site:

Pointing GitHub Pages to Custom Domain #
To redirect the GitHub Pages site to osamasidat.com, I followed GitHub Help’s article about setting up the repository, and, an apex domain and a subdomain.
Creating a CNAME file #
Create a file, named CNAME under the contents folder (in the dev branch), the content of which is simply the domain being setup for redirect. For instance, my CNAME file just contained osamasidat.com.

Once deployed, the master branch will contain the CNAME file at its root.

Adding records with DNS Provider #
Next, the domain osamasidat.com (on Namecheap needs its DNS settings to be modified/added. The following settings were required (to point the domain and the www subdomain):
| Record Type | Host | Value |
|---|---|---|
| A Record | @ | 192.30.252.153 |
| A Record | @ | 192.30.252.154 |
| CNAME Record | www | oosidat.github.io |
The changes may take a while to propagate, but once they do, osamasidat.com will redirect to oosidat.github.io.
Recap #
Let me summarize what I did in Part 2 of my site renovation
What I did so far:
- Created a repository for a User GitHub Pages
- Pushed Wintersmith source code to the
devbranch of the repository - Added gulp and gulp-gh-pages to the project
- Added a deploy task to push the generated site to the
masterbranch of the repository - Pointed my custom domain to the GitHub Pages site
Next steps: HTTPs for GitHub Pages with custom domains. Watch out for a new blog post (hopefully soon!).
At this point, I’ve finished a migration from the FTP-based Netfirms to GitHub Pages and pointed my custom domain to it.
Until next time!